Translate

Saturday, July 25, 2020

Home Sweet Home

Welcome back and Nancy, here.  I am excited to share a card I made for a friend for her open house party for their new home.   

 I love making shabby chic cards with all of the vintage trimming and the Stamperia paper and supplies have gorgeous colors and images to do these vintage projects and cards.

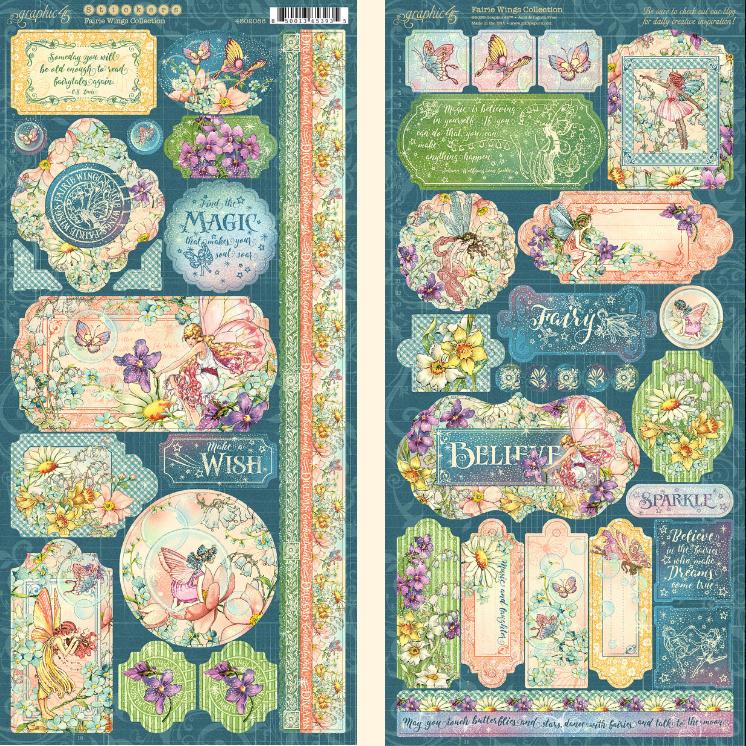
You will want to check out the stunning new Stamperia arrivals of papers and chip boards now available at The Rubber Buggy.  My next order will be the Stamperia Hortensia collection if it hasn't sold by the end of the month.  

Stamperia Hortensia


I made my card from Stamperia Provence paper pad since it had this sentiment on the paper and I haven't purchase the new Stamperia paper collections yet which is on top of my list.  

I made my border using the Prima Marketing Vintage Louis mould from fast drying clay and sprayed it with the pink and purple bottles of Lang Gang Spray Under The Board Walk. I used a hot glue gun to adhere this to the card as well as the Wild Orchid Craft flowers.
 
I used the Ranger Picket Fence Dabber bottle and dabbed it on the metal frames that here adhered with a hot glue gun.  I cut out a butterfly from the paper collection and added it to the card.  

Throughout the card, I adhered the Dress My Crafts-Sequins-Pink Celebration to parts of the card using just the tiny hearts and stars in this jar.  


I used my Microsoft word to type the sentiment on my laser printer since it prints with toner ink so that I can use a foil transfer sheet to laminate the foil on the sentiment.  First I typed out the sentiment and printed it out to get an idea how to arrange it to print it out on the Stamperia paper.  Then I used two-sided tape and taped the Stamperia paper on copy paper and then ran it through my laser printer and then used the transfer foil sheet. 

 Since the sentiment wasn't perfectly centered, I fussy cut the bag of lavender found in this paper pad and adhered it to the right bottom corner of the card to balance the appearance and hide my mistake of not centering the sentiment on this patterned paper.  There is always a way to cover up mistakes in scrapbooking and card making by adding embellishments here and there.  

I had so much fun making these cards and hope you will too.  So have fun crafting this weekend with these wonderful products at The Rubber Buggy.   My cards and projects are always posted on Saturday.  Keep watching and thank you so much for those wonderful comments as well as suggestions. 

Enjoy and Happy Crafting!


Saturday, July 18, 2020

Lawn Fawn Magic Iris Glow In The Dark and Ahoy

Arrrrgh you ready for adventure? Nancy, here, to share a Lawn Fawn interactive cards made with the Lawn Fawn Ahoy, Matey stamp, Lawn Fawn Fairy Stamp and Lawn Fawn Magic Iris die set all available at The Rubber Buggy on-line and retail stores.  

I would highly recommend you to view the Lawn Fawn tutorial, click HERE, as well as my step-by-step graphic photos of how to assemble the Lawn Fawn Magic Iris by clicking HERE.    I still had problems with assembling the Magic Iris after watching the Lawn Fawn tutorial so viewing my written tutorial with lots of photographics and tips and technique to follow along.  Just make sure to have fairly new tiny glue dots since I found out the hard way that my glue dots were old and dry enough to not adhere with the interactive parts of this card.

My first Magic Iris card was made with the Lawn Fawn Glow In The Dark embossing powder along with the adorable Lawn Fawn Fairy Friends stamp and die set. 

This is a photo of the card taken in a dark closet.   I used a brush to brush on embossing ink and then applied the Lawn Fawn Glow-In-The-Dark embossing powder with the embossing heat tool.


This is a photo of the card outside the closet with the Lawn Fawn Magic Iris closed.
This is the card when the Magic Iris is open.


I just loved how a member on the Lawn Fawn Design Team created her Lawn Fawn Ahoy Matey card with the cave with the Magic Iris die so I used her idea of a cave to create my card.  

For the cave, I used Copic Marker and drew some dark circle to create the look of stones. I cut out some rectangles for the logs for the outside of the cave and sponged on Distress Oxide Ink-Espresso and Distress Oxide Ink-Black Soot.  I used a black marker and tapped in some places of the card to look like sand and sponged a Black Soot ink on the background behind the cave.  I colored the pirates and trees with Copic Marker.  I also cut out the flowers and leaves from the Lawn Fawn I Love You Koala stamp set.
I used 3D foam tape or Scrapbook Adhesive 3D Foam Squares behind the card around the Lawn Fawn Magic Iris to adhere to the first layers of frames and then black cardstock for the last frame on the card that was adhered with Beacon 3-in-1 Advanced glue.  

Thanks for your visit today!  The Rubber Buggy has the crafting supplies for your next project. So have fun crafting this weekend with these products.   My cards and projects are always posted on Saturday.  Keep watching and thank you so much for those wonderful comments as well as suggestions. 

Enjoy and Happy Crafting!


Saturday, July 11, 2020

Lavinia Stamp Josie and Pipin

Welcome and Nancy, here.  I am loving my new Lavinia stamps and excited to share my card with you.


I sponged on the Ranger Distress Oxide inks:  Marmalade, Ripe Persimmon, Dusty Concord and Squeezed Lemonade on Neenah Classic Crest Solar White cardstock.  I find this certain brand cardstock works much better for me with blending  the Oxide inks with my Picket Studio Blending brushes.  I used the Versafine Clair ink and embossed with clear embossing powder for the fairy and bunny so that it doesn't smear.  I used colored jelly ink pens and dotted on the bottom to appear as flowers along with using the white ink pen. 

Supplies:
Lavania Stamps:  Josie fairy, Pipin bunny, Cherry Blossom
Additional Stamps:  Heartfelt Creations Woodsy Woodland,
Tools and Adhesive:  Beacon 3 n 1 Advance Glue, Misti Stamp Tool, Clear Embossing Powder, Versafine Clair Black Ink.

Thank you so much for those wonderful comments as well as suggestions. 


Enjoy and Happy Crafting!

Graphic 45 Fairy Wishes Tags

Welcome back and Nancy, here. Come find the magic of creating with the Graphic 45 Fairy Wishes collection!  I am excited to share with you my tags made with the new Graphic 45 Fairy Wishes collection available at The Rubber Buggy 


Throughout each tag, I adhered the Dress My Crafts-Sequins-Pink Celebration sequins, stars and hearts from the jar. I love the tiny hearts and stars in this jar along with the clear shimmering sequins that add sparkle to my fairy tags.   I added the Wild Orchid Craft flowers with a hot glue gun.

Each tag was cut out with the Graphic 45 Staples Tag dies: Graphic 45 Staples Tag and Clock die set and Regular Tag and Gears set.  I added Tim Holtz-Idea-ology metal flowery hardware to one tag and adhered it with a hot glue gun.
Graphic 45 Staples  Square Tag and Clock Metal Dies image 0Graphic 45 - Staples Collection - Metal Dies - Regular Tag and Gears
Graphic 45 - Fairie Wings - 12 x 12 Collection (4502083)
Graphic 45 Fairy Wishes

Entering in the following challenges:  
Fairy and Unicorn Challenge:  July


I had so much fun making these cards and hope you will too.  So have fun crafting this weekend with these products.   My cards and projects are always posted on Saturday.  Keep watching and thank you so much for those wonderful comments as well as suggestions. 

Enjoy and Happy Crafting!


Saturday, July 4, 2020

Stamping Bella Girls Birthday Card


Welcome back and Nancy, here.  Hopefully, The Rubber Buggy Design Team has inspired you to add awesome supplies and stamps to your collection, or if you already have it, get creating and sharing! We all would LOVE to see what you’ve been creating lately!!! The Rubber Buggy has wonderful name-brand supplies and products you will need for crafting your cards and projects. 

Stamping Bella have so many fantastic stamps across the various ranges but Stamping Bella The Uptown Girls still have a special place on my craft desk. With all the fun details, they make for such adorable cards.

Hard to choose which Stamping Bella girls to use since they are all so adorable but narrowed it down to three Stamping Bella girlie stamps that were colored with Copic Markers and cut out with the Brother Scan and Cut machine which is my all time favorite machine to have instead of fussy cutting them out. It took the machine 3 minutes to cut out the stamped images.  I used the Stamping Bella-Curvy Girl With Cocktail, Stamping Bella-Curvy Girl Eats Cake and Stamping Bella-Gardener stamps for this card.

I created the background die cutting out a circle for my stencil.


First, I sprayed the inside of my circle stencil with the pink, yellow and purple bottle of Lindy's Stamp Gang - Flat Sprays - Under The Boardwalk.  I used my hot embossing gun to dry the spray.  Other options of just letting it dry or using a hair dryer as well for faster drying time.


Optional for additional coloring, I used the Picket Fence Studio Blender brush and brushed on the Distress Ink:  Spun Sugar and Worn Lipstick in some areas of the circle.  NOTE:  When applying this method of applying ink to the brush before applying on paper, brush the ink on the ink pad and then lightly brush on scrap paper to get off excess ink before brushing on the circle.  Otherwise, you will end up with streaks from excess ink.  This will take practice so try it on scrap paper a few times.  Also, some inks are heavier on the brush than other inks.

I applied glue to the Stamping Bella girls and adhere to the card.  I stamped out a sentiment and die cut it out and used 3-D foam tape on the back.  I brushed on the Distress Ink-Spun Sugar around the sentiment.  I adhered the ribbon with 1/2" wide Scor-Tape and added a 10mm Wild Orchid Craft rose.  I adhered the 3mm flat-back pearls to the center of the flowers.

For the final touch, I added the  I added the hearts and stars from the Dress My Crafts-Sequins-Pink Celebration


Thanks for your visit today!  The Rubber Buggy has the crafting supplies for your next project. So have fun crafting this weekend with these products.   My cards and projects are always posted on Saturday.  Keep watching and thank you so much for those wonderful comments as well as suggestions. 

Enjoy and Happy Crafting!