My name is Nancy Hill. and I’m so pleased and honored to be Guest
Designer again for the Clock challenge at The Funkie JunkieBoutique Challenge Blog. I have been creating cards and projects as my
main hobby since I was young. I
enjoy trying new products and techniques and always experimenting in different
styles and mixed medias. Sewing quilts and appliqué designs are also my
additional hobby in the wintertime.
Even though I am retired from a career in teaching and counseling, my
husband and I are ranching and farming on a prairie in Idaho. I am very active at the gym as well as
watching my grandson during my daughter’s work hours. We have four children,
eight grand children and one great granddaughter. Together, my grandson and I
take time out during the day to do crafting. Even when life is busy around
here, just a couple of minutes being creative can make a huge difference in a
day.

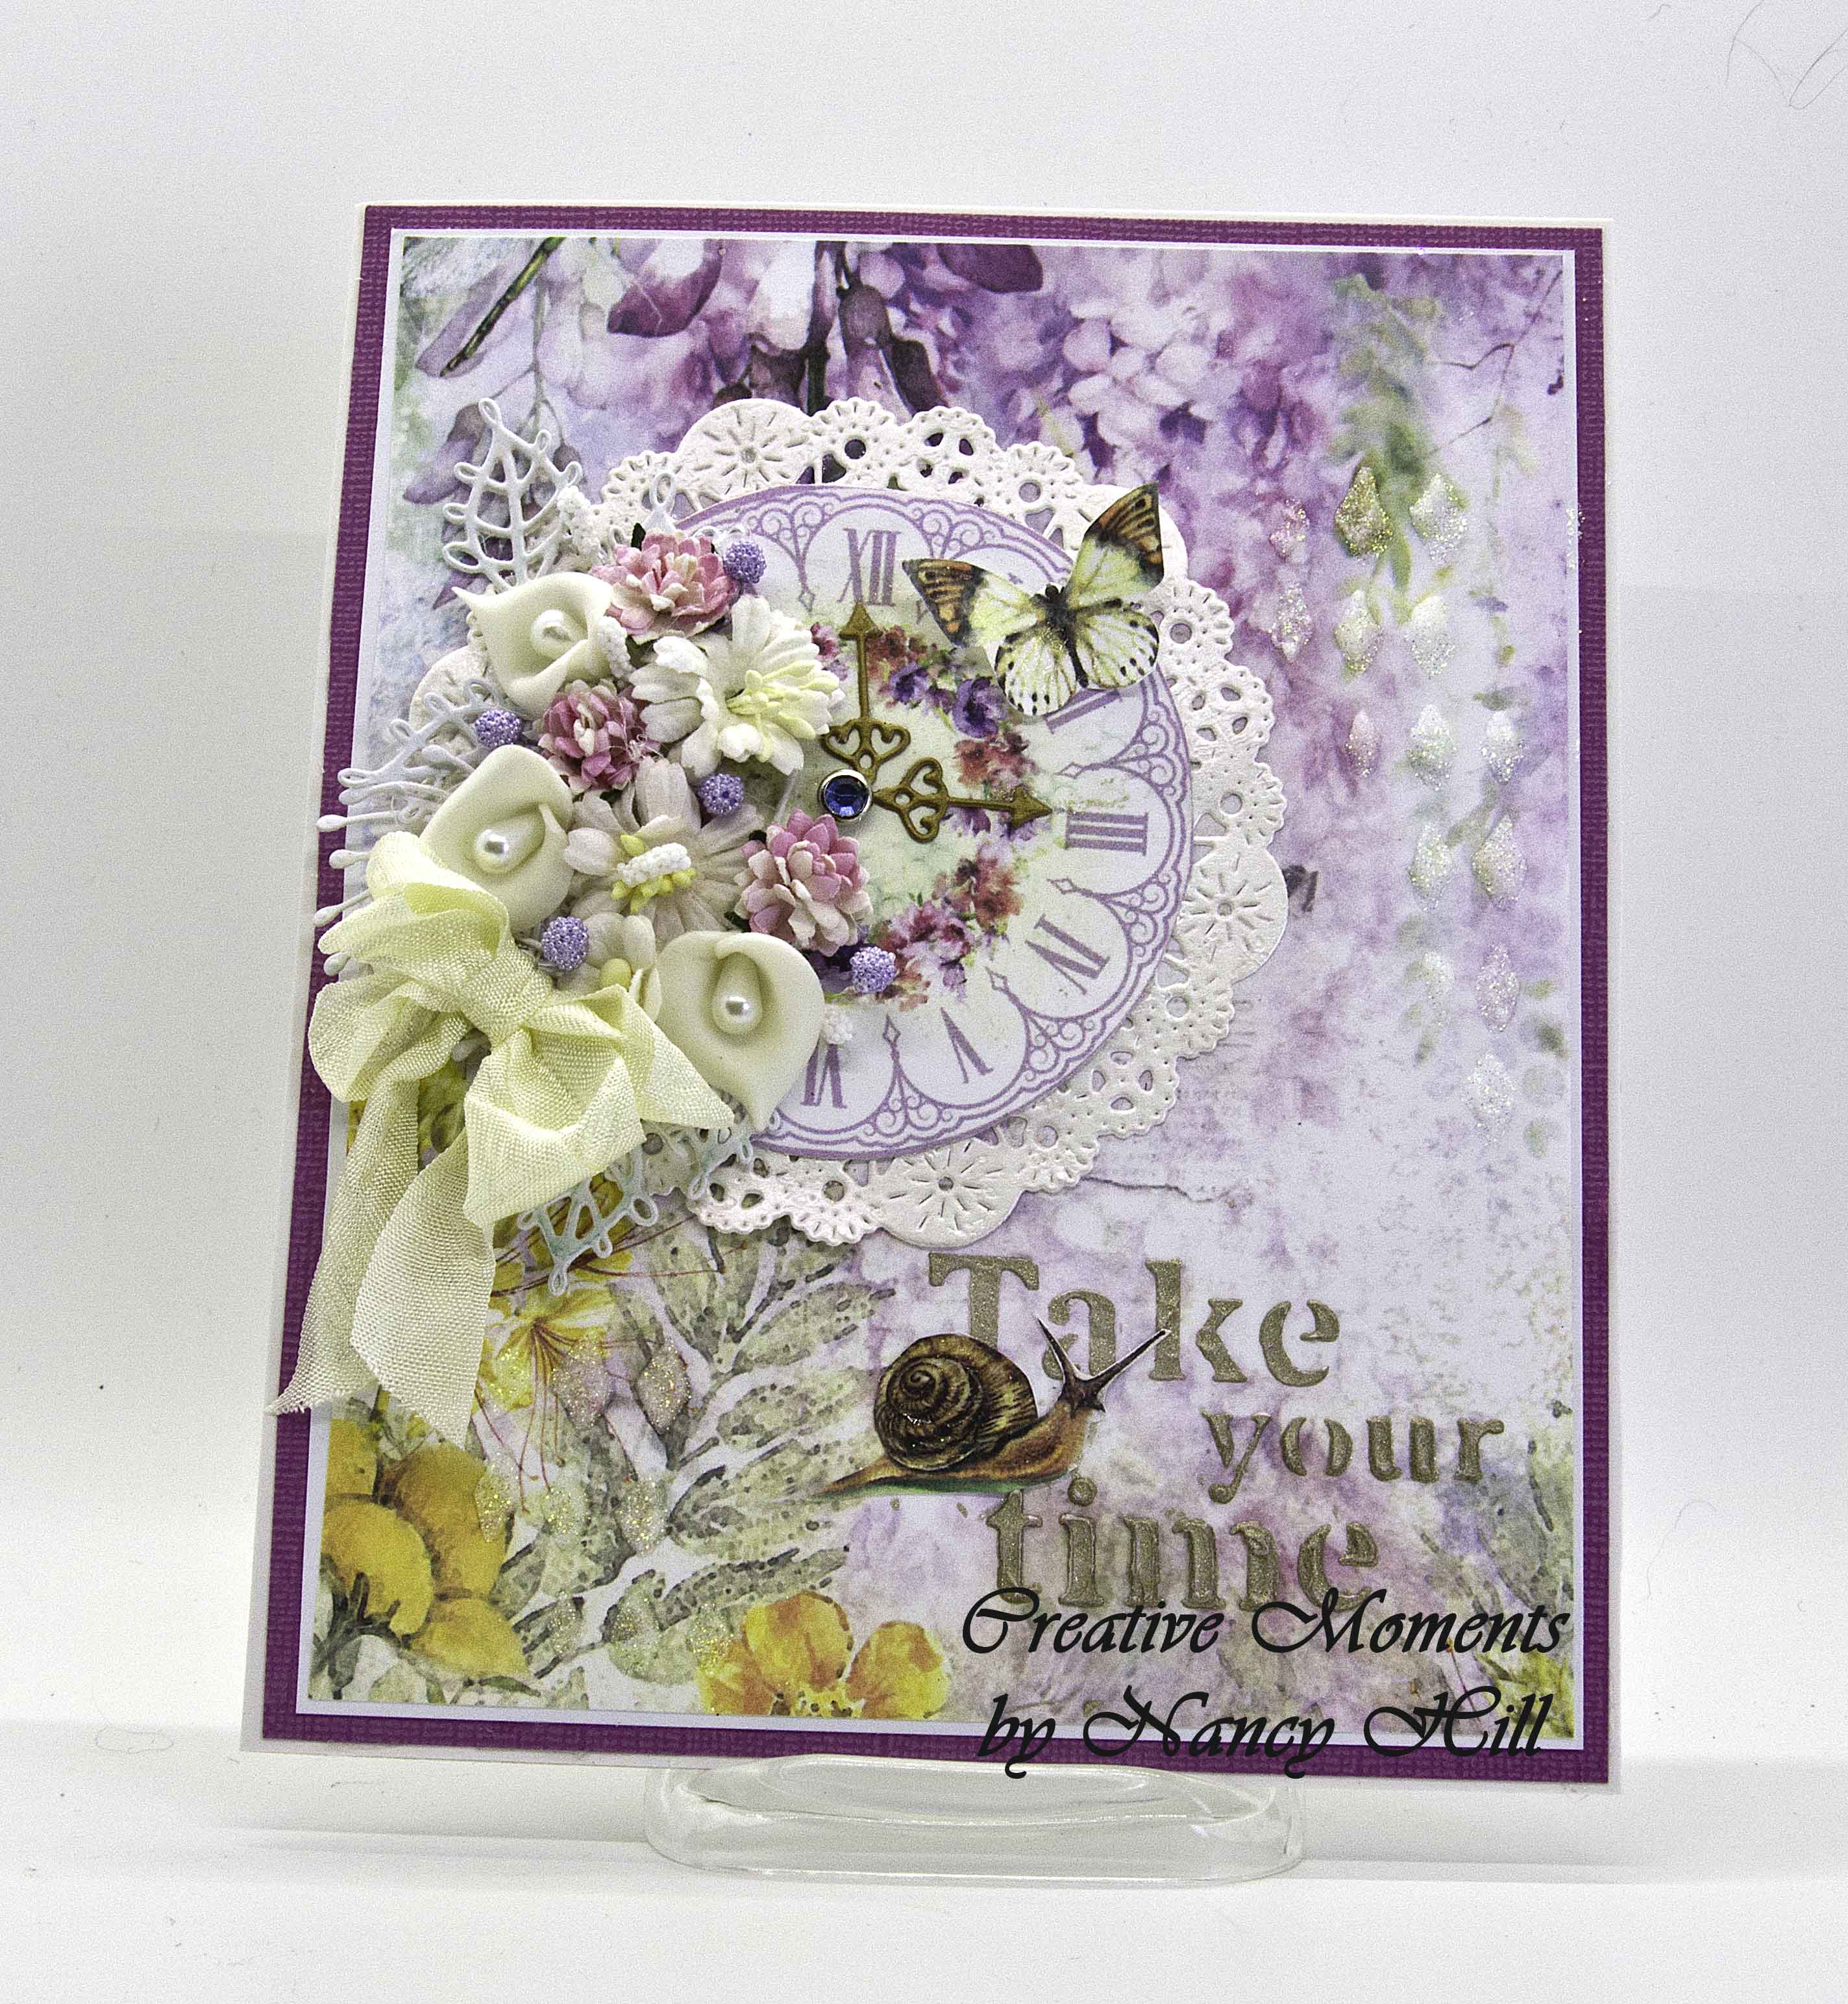
With
so many colorful flowers, butterflies and dragonflies everywhere, I was inspired to create a shabby chic card
using the gorgeous Ciao Bella Microscomos paper with the Stamperia Take Your
Time stencil for this challenge.
Supplies: Purple and white cardstock, Ciao Bella Microscosmos paper, Stamperia Take Your Time Stencil and Stamperia Gold Paste, Cheery Lynn Designs Scallop Doily die, Wild Orchid Craft flowers and flower stamin, Sue Wilson Finishing Touches Mosaic Leaf die set, Handmade cream seam binding bow, NUVO White Blizzard glitter paste.
Adhesive: Hot glue gun and Beacon 3-n-1 Advance Glue
Instructions: Begin with a 12" x 14" panel of heavy white cardstock. Score it in half at 6″ to make a fold card base. I have heavy weight 36" poster board when I need heavy white cardstock for my card base to avoid warping especially with metal embellishments.
I cut out the doily and the clocks, snail and butterfly from the Ciao Bella Microcosmos paper and adhered to the doily. I used a hot glue gun to adhere the flowers, flower stamen and die cut leaves to the clock. I poked a hole to the center of the clock and inserted a rhinestone brad with clock hands. I handmade the cream seam binding ribbon bow and added water to the bow. I used my hands to crumble the bow for a vintage appearance before using the hot glue gun to adhere the bow next to the flowers. I glued the doily on my 5 3/4" x 6 3/4" patterned Ciao Bella Microcosmos paper.

I used a palette knife with Stamperia gold paste to stencil Take Your Time to the paper and let dry. I glued the snail from the Ciao Bella Microcosmos paper pad next to the sentiment. I used the Stamperia Take Your Time stencil with the palette knife using Nuvo White Blizzard paste to stencil some of the texture to the background for a slight touch that appears to look like morning dew. I cut out purple and white mats and adhere behind the front cardstock to the 6" x 7" card base.