Welcome back and I am excited to share a new arrival of the Graphic 45 Fashion Times collection available at The Rubber Buggy that carries all of the name-brand products and supplies to make those gorgeous cards and projects. I will be designing one card or project every month this year with Graphic 45 Fashion Times collection and sharing it with you.
What a beauty and gorgeous collection. This collection is so well suited for crafters to make planners, daily journals, mini albums, gorgeous cards with papers reflecting flowers and colors for that month and for all of your scrapbook needs. What I like about this the Graphic 45 Fashion Times collection is the monthly pages in this collection to create projects and cards for each month of imagery of vintage ladies, wonderful sentiments and florals for each season of vibrant colors of sapphire blue, amethyst purples, emerald greens, ruby reds and citrine yellows.
For those closely following my blog, my grand daughter got married in August. She loves her special vintage outfits for parties wearing those gorgeous hats. I used the LaserLowe Love Hearts With The Lilies of the Valley chipboard heart for the center and added NUVO Gold Enchantment embossing powder on the chipboard before adhering my sentiment behind chipboard and adhering to the card. I love glitter but the Prima Marketing Art Alchemy Sparks Dragon Eyes would have been my second choice. The beautiful rose and scroll is from the Graphic 45 Die Cut Assortment. I added a layer of gold glitter cardstock to the card since I love using gold glitter for Christmas cards and projects.

Below is February page in this collection that I used to make this card. Notice the different sentiments throughout the page for that wording that is perfect to personalize your card or project for that special person. In this paper pad 12 x 12", each month has a new gorgeous vintage lady and precious sentiments designed for the month like the February paper designed for my card. Please notice on the left side the special sentiments that can be cut out and adhered to your card to tell your person how special they are. For the layers, I used both the December and February paper for this card since it was a Christmas card but the hat on this February lady reflects more of my grand daughter hat at the wedding. Each month paper is also sold separately and available at The Rubber Buggy.


 |
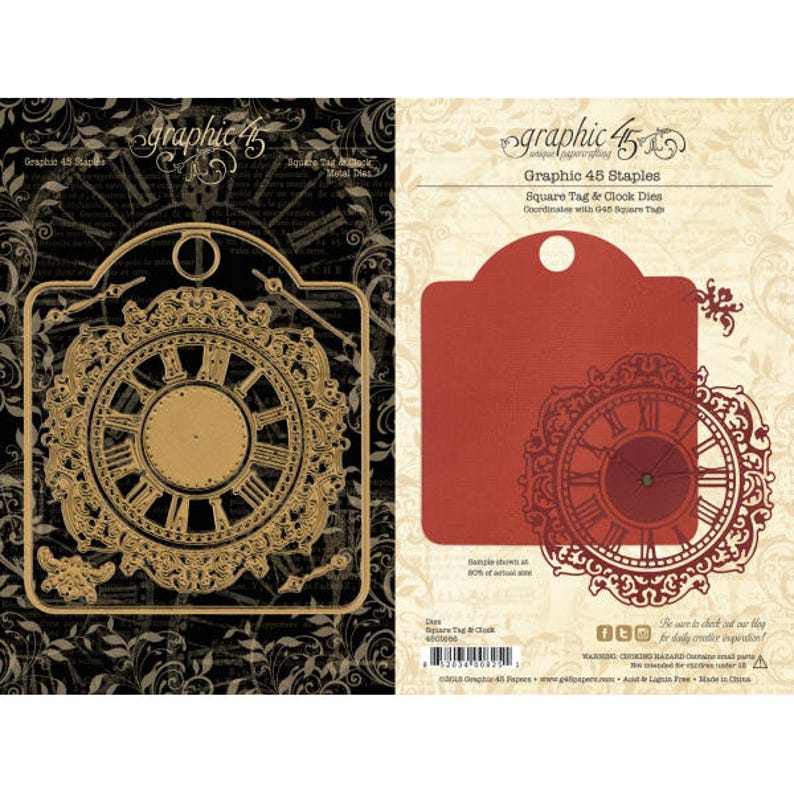
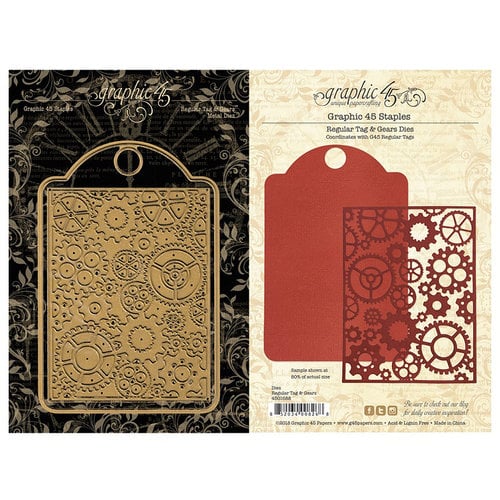
| Graphic 45 Die Cut Assortment. |
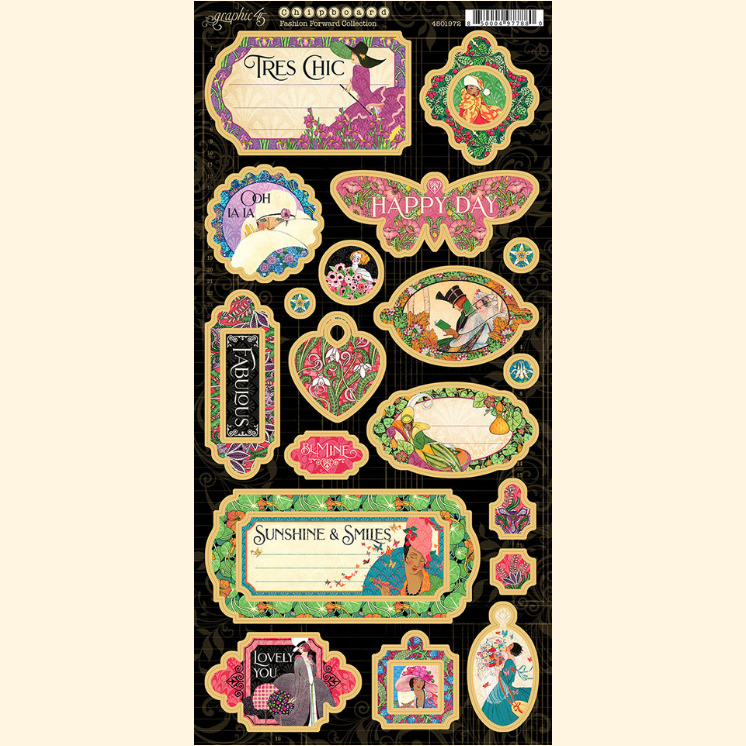 |
| Graphic 45 Fashion Forward Chipboard |
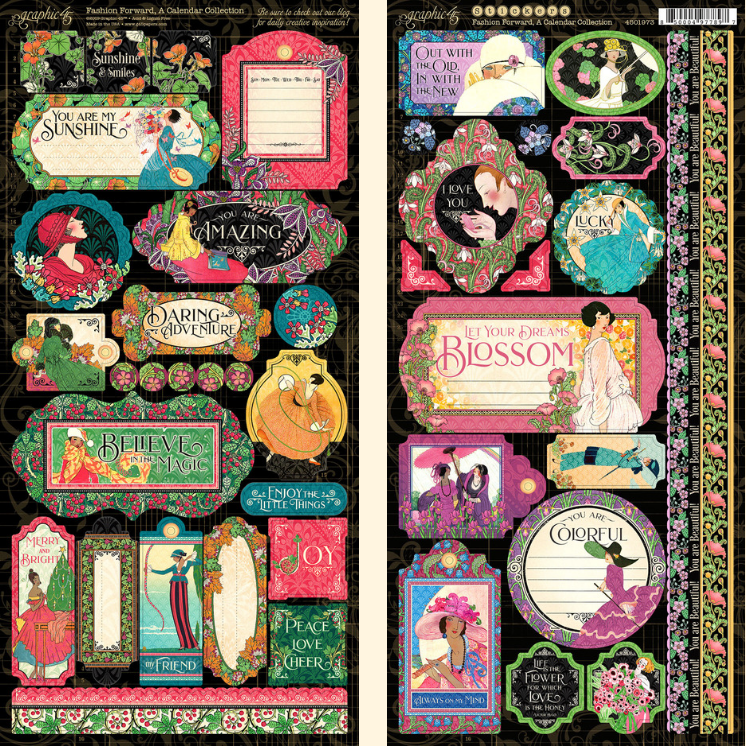 | |
| Graphic 45 Fashion Forward Stickers
So start your new years resolutions of 2020 crafting each month with the gorgeous
Graphic 45 Fashion Forward collection available at The Rubber Buggy on-line store as well as their new retail store in Bend, Oregon.
I hope I have inspired you try out these products available at The Rubber Buggy on-line store. My cards and projects are always posted on Saturday. Keep watching and thank you so much for those wonderful comments as well as suggestions.
Enjoy and Happy Crafting!
|