
Welcome back and Nancy, here. Come find the magic of creating with the Graphic 45 Fairy Wishes collection! It is just the prettiest collection with vivid colors and lots of pretty flowers, and fairies of course!
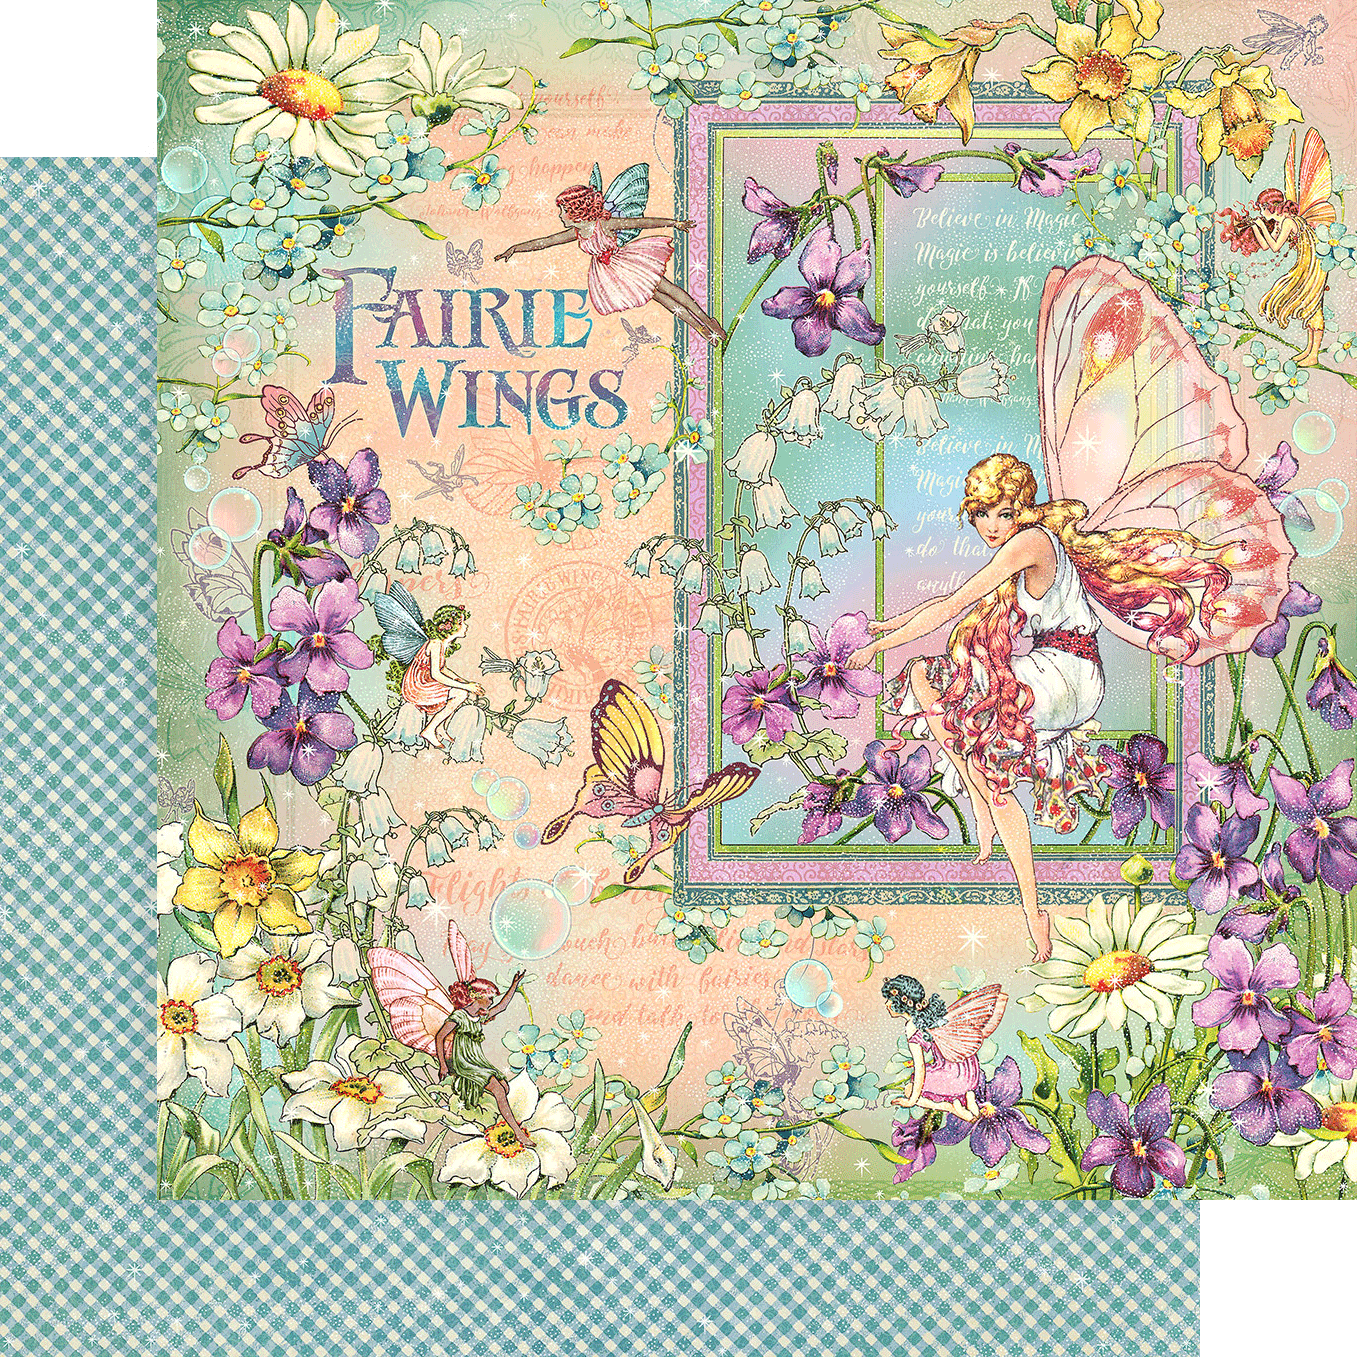
I am excited to share with you my gift box for my granddaughter's birthday that will be filled with gifts that was made with the new Graphic 45 Fairy Wishes collection. This beautiful collection is filled with images of fairies, florals, and yellow butterflies that flutter about with backgrounds of soft pink and purple violets galore.

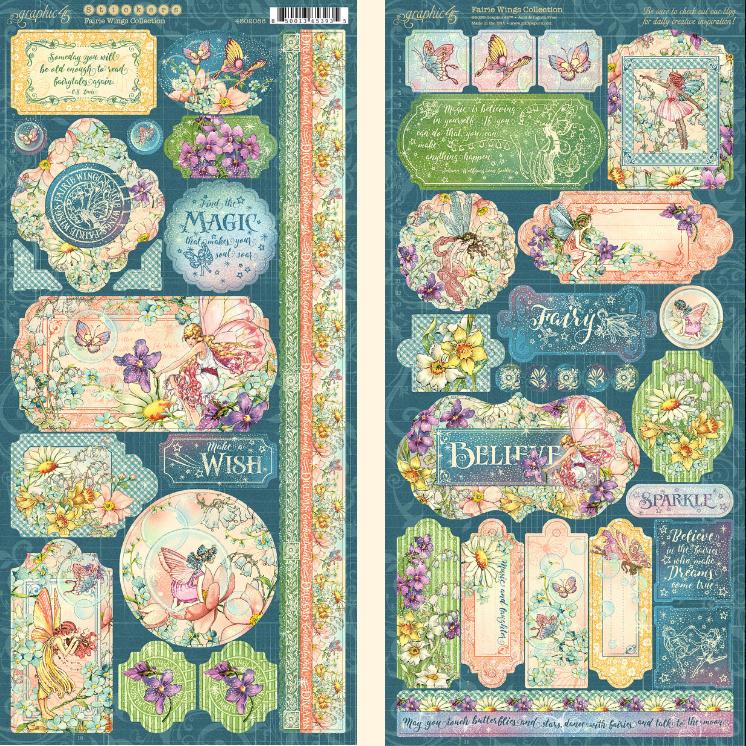
I typed and printed the name with a laser printer and then used a laminator to foil the name. The frame is a sticker included in this collection. I traced this sticker on heavy cardstock three times and cut it out and adhered it together to form the height to give a 3D appearance. I added Tim Holtz brads to the sticker frame and 3mm flat back pearls around her name. I added the hearts from the Dress My Crafts-Sequins-Pink Celebration.
I hand crafted my flowers with foamiran and handmade a coral ribbon and adhered all with hot glue gun. I adhered a metal butterfly and metal covers after covering it with Prima Marketing Art Alchemey Ginger Sparks paint. I added NUVO glitter pen through the front of the box.
Throughout the card, I adhered the Dress My Crafts-Sequins-Pink Celebration to parts of the card. I love the tiny hearts and stars in this jar along with the clear shimmering sequins that add sparkle to this fairy project.


 Venice lace was added around the box using Scor-Tape and Beacon 3-in-1 Advanced Glue.
 I painted the inside of my box with green Chalk paint and let dry. I cut out the different frames from the collection and used the glue to adhere to the Graphic 45 Fairy Wishes paper for the top and bottom. I cut out the doilies and added it behind some of the fairy frames.


I am excited to share with you my gift box for my granddaughter's birthday that will be filled with gifts that was made with the new Graphic 45 Fairy Wishes collection. This beautiful collection is filled with images of fairies, florals, and yellow butterflies that flutter about with backgrounds of soft pink and purple violets galore.
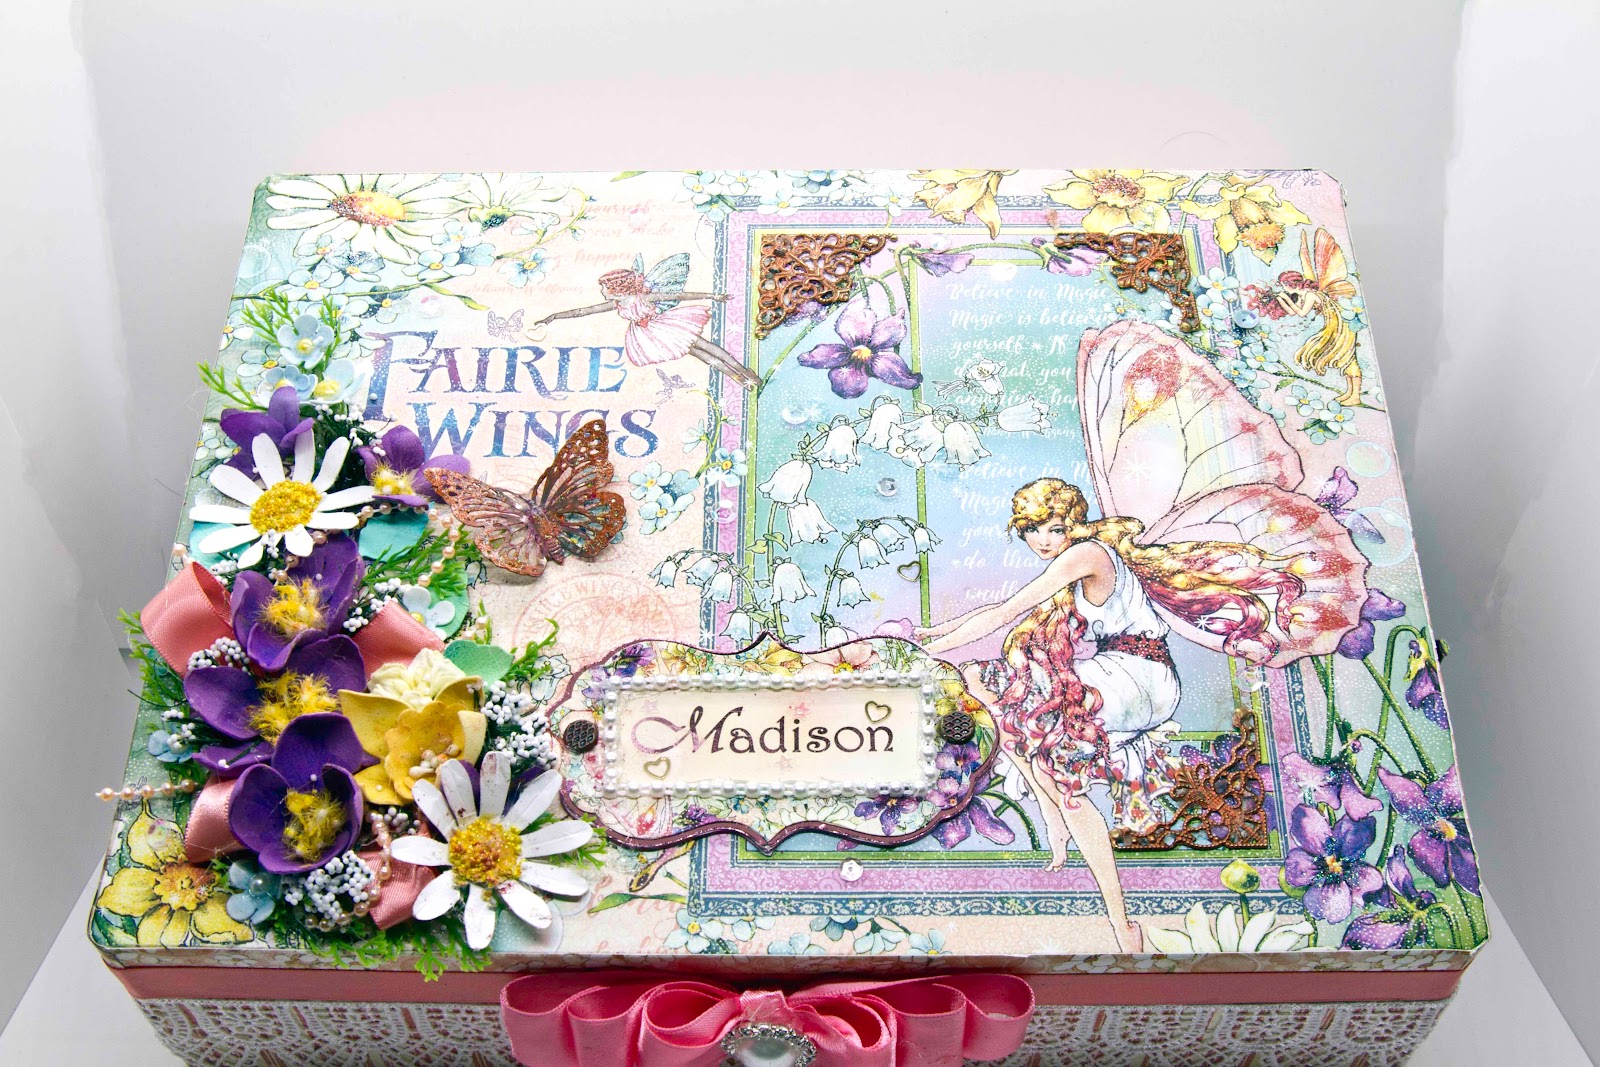
I purchased on-line the Darice Unfinished Wooden Box, 12” x 9.125” x 3.25 and painted the inside with green Chalk paint. I used Scor-Tape and Beacon 3-in-1 Advanced Glue to adhere the Graphic 45 Fairy Wings paper to the top and around the wooden box.
I hand crafted my flowers with foamiran and handmade a coral ribbon and adhered all with hot glue gun. I adhered a metal butterfly and metal covers after covering it with Prima Marketing Art Alchemey Ginger Sparks paint. I added NUVO glitter pen through the front of the box.

Throughout the card, I adhered the Dress My Crafts-Sequins-Pink Celebration to parts of the card. I love the tiny hearts and stars in this jar along with the clear shimmering sequins that add sparkle to this fairy project.


Thanks for your visit today! I have so much fun making these gift boxes and hope you will too. So have fun crafting this weekend with these products. My cards and projects are always posted on Saturday. Keep watching and thank you so much for those wonderful comments as well as suggestions.
Enjoy and Happy Crafting!
 |


