Translate

Saturday, August 29, 2020

Stamperia Sweety Planner

Welcome back and Nancy, here. Today, I have a 2021 Deluxe Monthy Planner purchased on Amazon altered with Stamperia Sweety  collection to share with you! It’s always nice to start a new year with something sweet. The Stamperia Sweet Memories Chipboard was also used for this project.   Last week, I made the birthday card out of this paper collection that will be given with the planner.  Click HERE to see the birthday card.

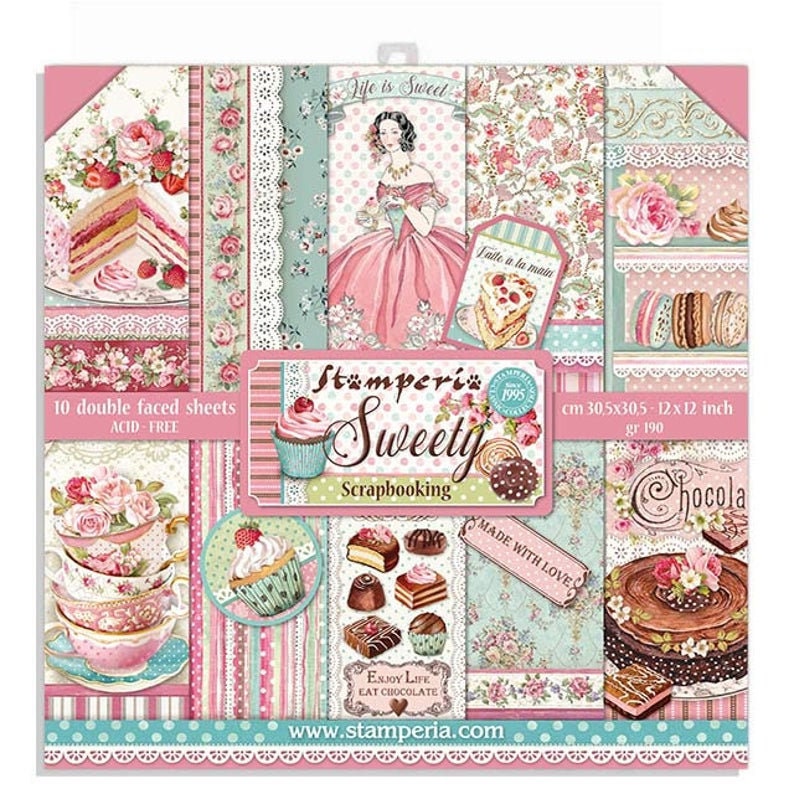
The Stamperia Sweety paper is so completed to do this planner with the gorgeous venice lace, chocolate, cupcakes and tea cups included in this paper pad. The Stamperia Sweet Memories Chipboard was also used on this project.   


Make sure to check out the additional Stamperia Sweety collection of moulds, chipboard,  that are sold separately and available at The Rubber Buggy:

Stamperia Soft Moulds - Tea time, Sweety
Stamperia Die Cut/Sweety
Stamperia Chipboard Sweety and Stamperia Sweet Memories Chipboard


I used a hot glue gun, Scor-tape and Beacon 3-n-1 Advanced glue to adhere the lace, flowers and cardstock on the planner.  I poked out the Sweet Memories banner from the Stamperia Decorative Chips - Sweet Memories package.  I sponged on a small amount of glue and sprinkled glitter and adhered it with Beacon 3-n-1 glue to the cardstock.  I used a ole Spellbinder die frame that was cut out with gold metallic cardstock and glue it with the Stamperia journal found in the Stamperia Sweety paper pad. 


Stamperia - Decorative Chips - Sweet Memories
Stamperia Sweet Memories


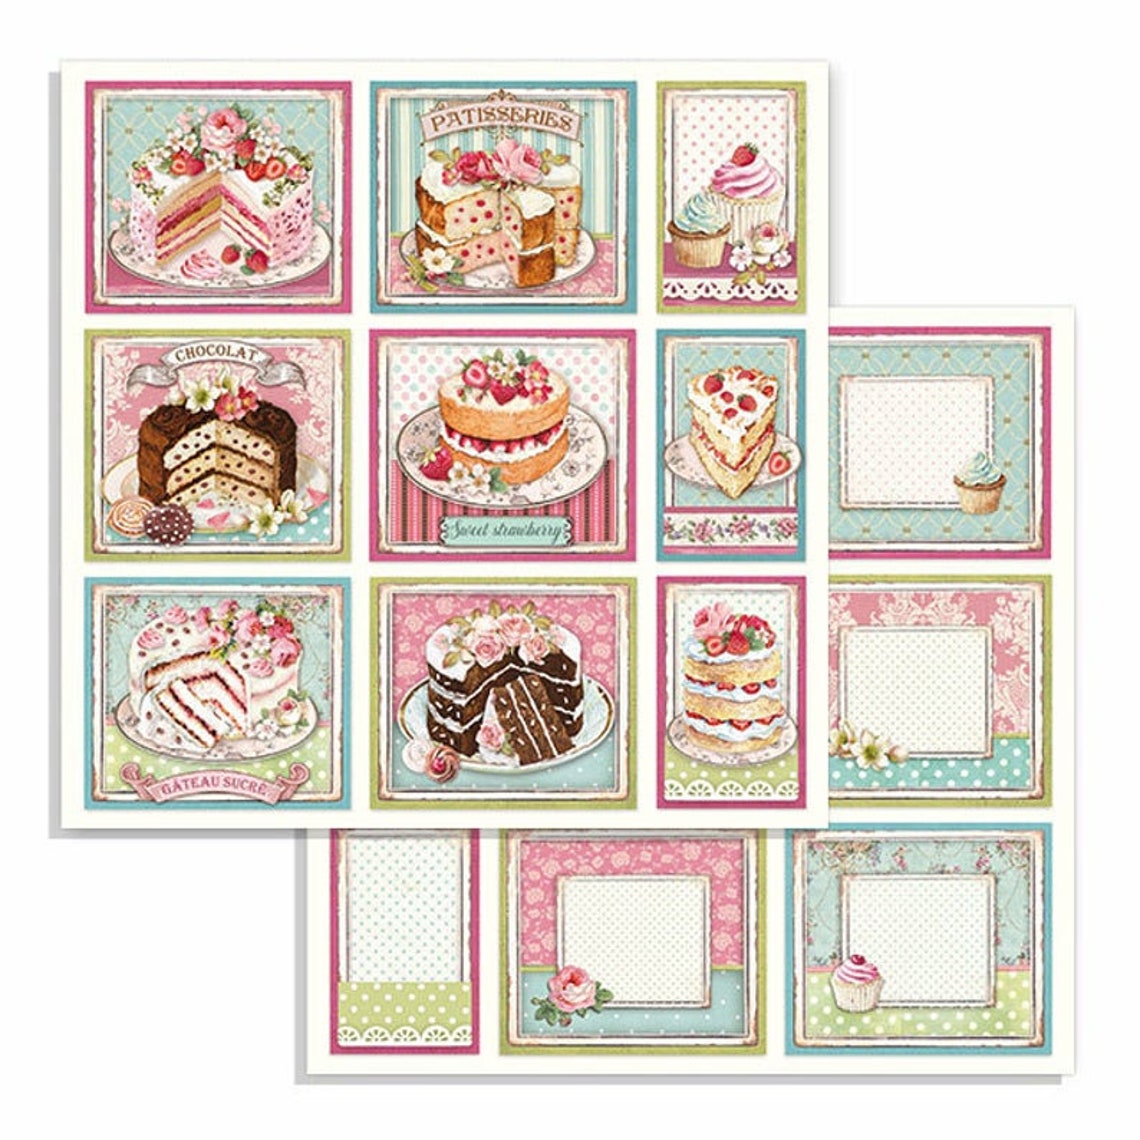
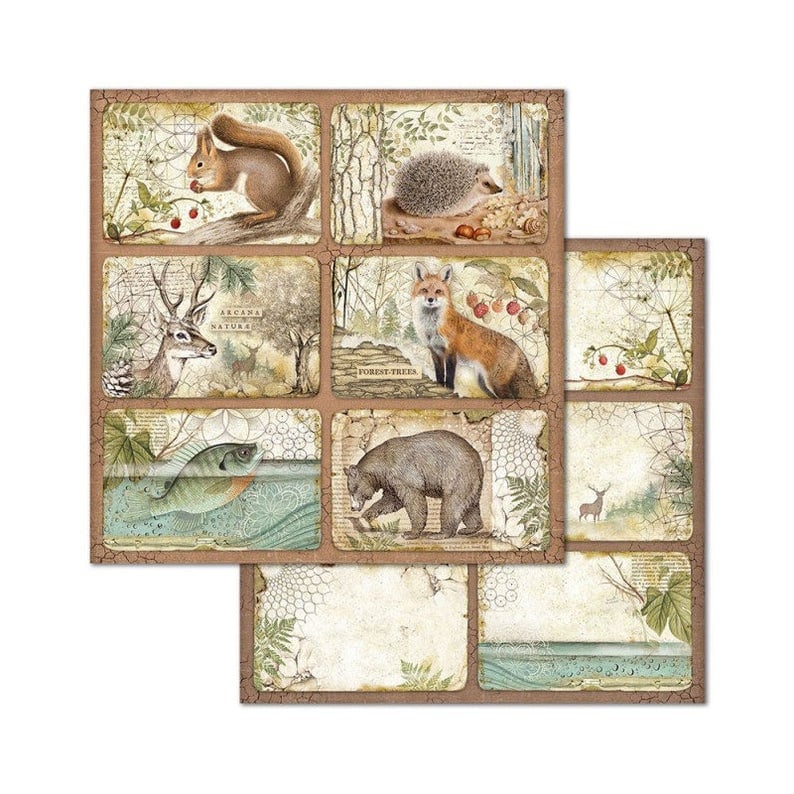
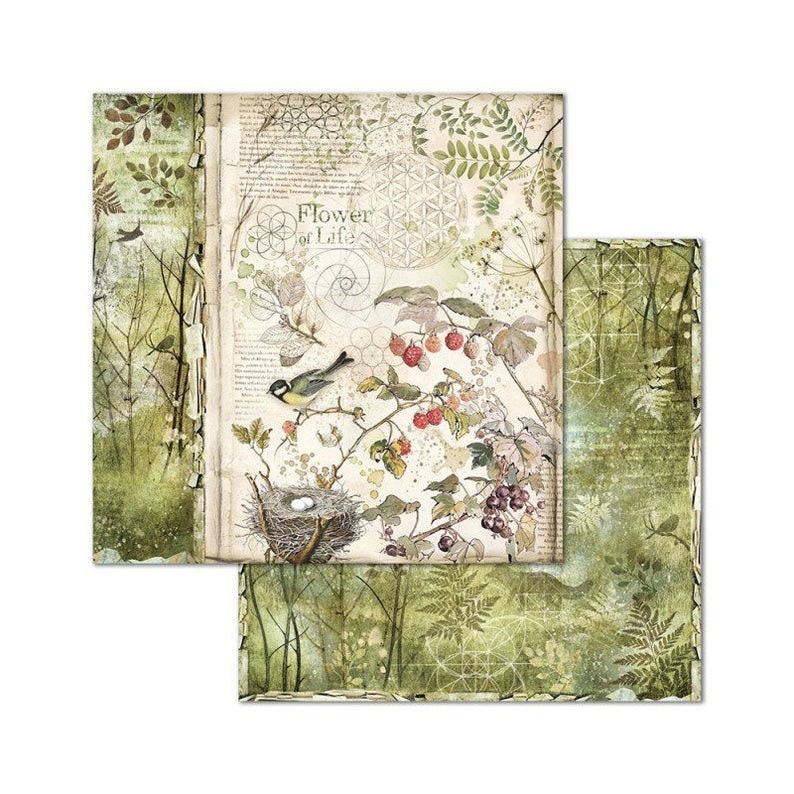
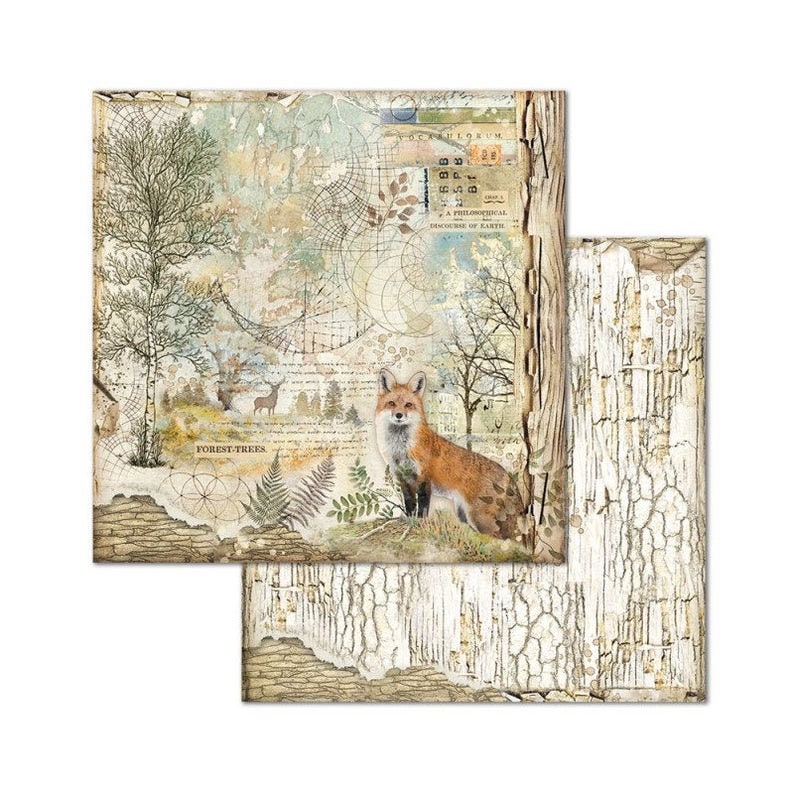
Below are some of the gorgeous pages in this collection.  In addition for this paper pad, the Stamperia Sweety collection also has 3D cupcake and ice cream moulds, stickers, die cuts that are sold separately.   

NEW Stamperia Sweety 12x12 Paper Pad Paper Kit Paper image 0


NEW Stamperia Sweety - 8" x 8" Paper Pad SBBS21


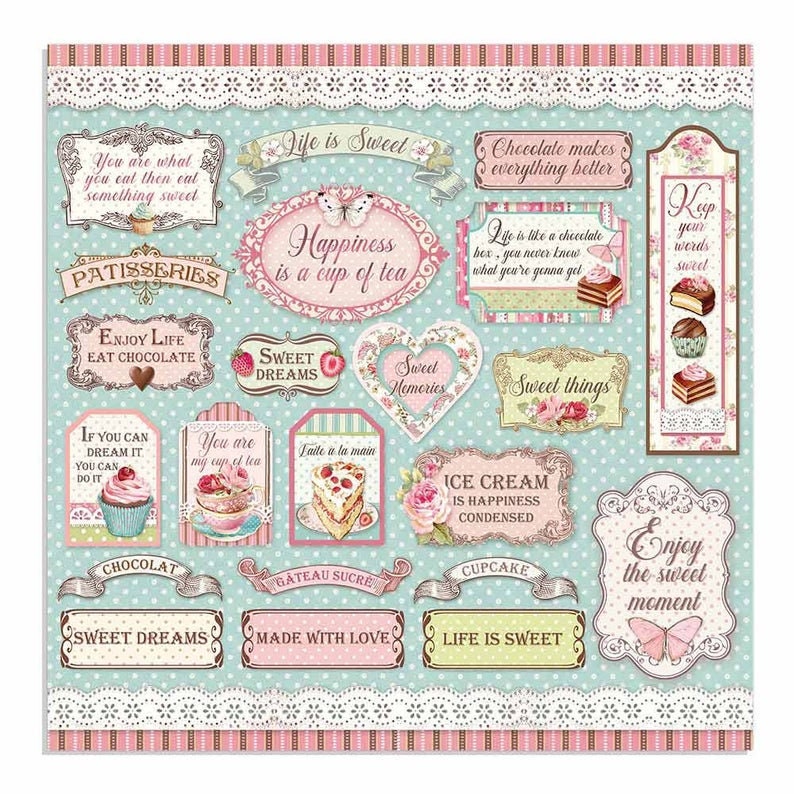
Throughout my planner, I used many of these images found in this paper collection like the tag below that was cut out and glued next to the cupcake.  I added a white doily behind the cupcake with pink flowers and rhinestone embellishments. NEW Stamperia Sweety 12x12 Paper Pad Paper Kit Paper image 5

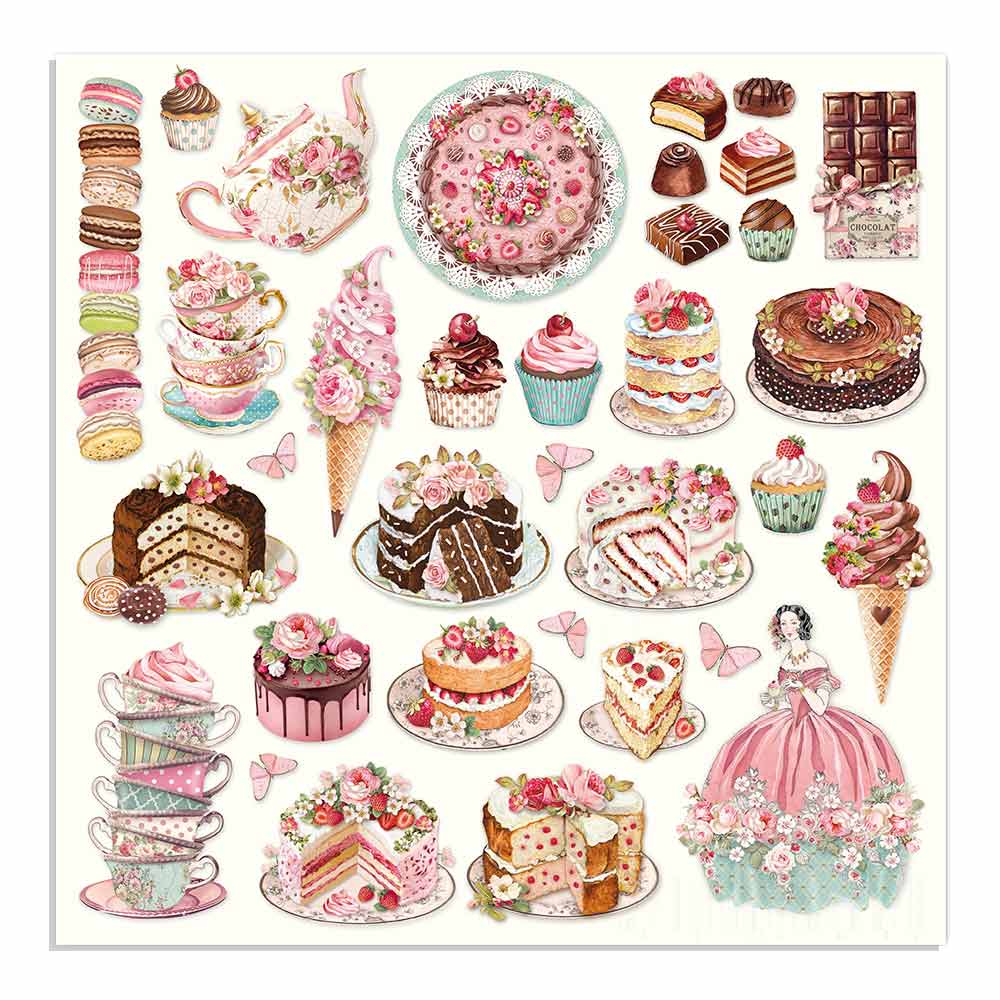
I placed the sheet of images (below) found in this paper pad  that can be cut out easily with scissors but through my Brother's Scan and Cut and it cut it all out in 2 minutes.  Make sure to use a pencil around some of the images for the Brother's Scan and Cut to identify what to cut out.  For a trial run, you may want to copy it out first and then put it through the Brother's Scan and Cut machine to figure out what images are too light around their edges that you don't want cut out.  I found this out in my trial run that some of the whites inside the images were cut out which I didn't want.

Stamperia Sweety 12 x 12 Paper Pad – My Creative Spirit
I just love placing my chocolates and butterflies around various pages in this monthly planner. 


I cut out a couple of the tags in this paper collection and used my glue to adhere them to these colored tags.  The planner already that these pockets so I covered the outside of the pockets with this paper and placed the tags inside the pocket.  I added a doily to the outside of the circle brown cake and added some of the images that was previously cut out with my Brother's Scan and Cut machine or you can easily cut these out. 


Picture above is the other side of the tags. 
NEW Stamperia Sweety 12x12 Paper Pad Paper Kit Paper image 7
So you better get this gorgeous Stamperia Sweety paper while available at The Rubber Buggy.  

Thanks for your visit today!  The Rubber Buggy has the crafting supplies for your next project. So have fun crafting this weekend with these products.   My cards and projects are always posted on Saturday.  Keep watching and thank you so much for those wonderful comments as well as suggestions. 
Enjoy and Happy Crafting!


Saturday, August 22, 2020

Stamperia Sweety Birthday Card

Welcome back and Nancy, here. Today, I have a birthday card made with Stamperia’s new Sweety collection to share with you!  Ooh la la!This collection is so beautiful with papers of gorgeous venice lace, chocolate, cupcakes and tea cups. It’s always nice to start a birthday with something sweet, don’t you think? So into my shopping cart it went and I am so glad!  

This is a 6 1/2" square side fold card base with a 1/4″ spine but if I was going to do it over again, I would do a 1/2" spine (center fold).  I layered the designer papers up with of depth and dimension with little flowers, Stamperia Decorative Sweet Memories chipboard and added a little pocket on the inside for some chocolate treats.  I created a little pocket by just cutting out a strip and scoring a 1/4" fold on each side including the bottom and glued it on the card. I used my Brother's Scan and Cut to cut all of these sweeties found in this paper pad and added them to my card.  Also available is the Sweety Die cut and moulds for additional pieces that coordinate with this paper.  

Stamperia Sweety Collection – My Creative Spirit


I used the Graphic 45 Staples-Policy and Decorative Die to make the gift card to insert in the pocket on the inside of the card.  Notice the other beautiful labels, corners, and lace dies in this set.


Graphic 45 Staples Policy & Decorative Dies
Graphic 45 Staples-Policy and Decorative Die 
On the back of the card, I cut out the label and adhered it to this section all found in the Stamperia Sweety 12" x 12" paper pad.  I added twine and metal embellishments on the side.  I cut out the gold corners with the new arrival of the Graphic 45 Staple Collection-Policy and Decorative die set.  

Above is a few additional pages found in the Stamperia Sweety 12" x 12" paper collection.


Thanks for your visit today!  The Rubber Buggy has the crafting supplies for your next project. So have fun crafting this weekend with these products.   My cards and projects are always posted on Saturday.  Keep watching and thank you so much for those wonderful comments as well as suggestions. 
Enjoy and Happy Crafting!


Friday, August 21, 2020

Lavinia Stamp Mermaid


I created the background through a liquid technique of adding 1" of water to a pan.  Add drops of Ranger alcohol ink with some Ranger alcohol pearl ink to the water and barely stir.  Dip the paper on the bottom of the pan and slowly lift out and you get this marble look with drops of the pearl ink.  

I stamped the Lavinia images with Distress ink and added sequins to the background.  I cut out some ole ocean dies and added this to the card with real seashells.  I used a Sue Wilson frame die for the frame.  

I am entering this card in the following challenges: Lavinia World Challenge #33

Enjoy and Happy Crafting!


Saturday, August 15, 2020

Stamperia Forest Gift Box

Welcome back and Nancy, here.   The perfect start my forest/nature gift box is with the beautiful Stamperia Forest collection! This package contains ten 12x12 inch double-sided sheets with a different design on each side.  The Rubber Buggy has all of the wonderful name-brand products and supplies for your next crafty project and cards.

 I have so many hunters and fishermen in my family which makes this collection ideal for creating birthday and projects for them.  The Stamperia Forest collection also includes stencils, stamps,  decoupage papers and rice paper.   
First I painted the box with green chalk paint before adding the paper. I used the Beacon 3-n-1 Advanced glue to adhere the paper to the wooden box.  I added the Stamperia Forest Die Cuts chipboard on the front and inside of the gift box.  I used a hot glue gun to adhere the chipboard but glue would have been fine.  I collected some bark, tiny pine cones and a stick to add to the box.  I made the leather strip from brown cardstock and sponged on the Tim Holtz Distress Vintage Photo and Tim Holtz Distress Espresso ink to give it a leather appearance.  Also, I used the Tim Holtz Vintage Photo ink sponged throughout the front, side and inside of the box to give it that worn look.  
I was able to scan and add the sentiment to this patterned journal in the Stamperia paper pad and printed it out.  Below are the papers from the pad for this box.


Stamperia 12x12 Forest Paper Pack  Double Sided Paper  12x12 image 8
Stamperia 12x12 Forest Paper Pack  Double Sided Paper  12x12 image 5
Stamperia 12x12 Forest Paper Pack  Double Sided Paper  12x12 image 2


Now the gift box is ready to send with local Idaho huckleberry goodies and fishing supplies.

I always stamp my name on back of my cards and projects.
Stamperia Forest Die Cuts Assorted  Die Cut   Forest image 0
Stamperia Forest Die Cuts chipboard

The Stamperia Forest die cuts includes 65 assorted die cut chipboards in this packet that coordinates with the Forest collection.  

Thanks for your visit today!  The Rubber Buggy has the crafting supplies for your next project. So have fun crafting this weekend with these products.   My cards and projects are always posted on Saturday.  Keep watching and thank you so much for those wonderful comments as well as suggestions. 
Enjoy and Happy Crafting!


Saturday, August 8, 2020

Stamperia Fishing and Nature Birthday Card

Welcome back and Nancy, here.  Would you be needing a nature or fishing card or project?  The perfect start to your forest/nature scrapbooks, cards and more is with the beautiful Stamperia Forest collection! This package contains ten 12x12 inch double-sided sheets with a different design on each side.   I have so many hunters and fishermen in my family which makes this collection ideal for creating birthday and projects for them.  

The Stamperia Forest collection also includes stencils, stamps,  decoupage papers and rice paper.   Everything you need to express your creativity!

My card is fairly large measuring 7" x 8" but it was soooo much fun to create for my nephew who is a a fisherman and hunter.    I added the Nuvo Crystal Drops Clear Morning Dew on the bubbles and fish on the patterned paper.  The clear crystal drops added a beautiful glossy appearance on the bubbles and fish and almost made the fish look real.  

I added the large and small green sequins and some beads throughout the front of the card using the 28 Lilac Lane Shaper Mix - Deck the Halls.  I really love the variety of colored sequins, buttons and beads in the 28 Lilac Lane Shaper boxes that come in a variety of colors and mixes. 

 I added the Stamperia Forest Die Cuts chipboard on the front and inside of the card.  I used a hot glue gun to adhere the rope.  I had a fishing lure die that was cut out with metallic copper paper.  This die has been retired a few years ago.

28 Lilac Lane Shaker Mix 75g - Deck The Halls (LL501)
28 Lilac Lane Shaper Mix - Deck the Halls
28 Lilac Lane - Shaker Mixes - Deck The Halls
Nuvo - Crystal Drops Gloss - Morning Dew
Nuvo Crystal Drops Clear Morning Dew 
I covered the inside of the card with this paper.  Also, I scanned one of the journal sections found in this collection and used my Photoshop to type and print out the journal with the sentiment. I cut it out and added to the inside of the card.

Previously in the past for other cards, I taped the original journal section on copy paper and print the sentiment on section which is very time consuming since I had to make sure the sentiment would be nicely centered, etc. which would take some trials of printing to get it right before printing on the original patterned paper.  
Stamperia 8in x 8in Paper Pack Block Double Sided Forest | 10 Sheets
Stamperia Forest Paper Pad

Below are the papers from this paper pad used on this card.


Stamperia 12x12 Forest Paper Pack  Double Sided Paper  12x12 image 8
Stamperia Forest Die Cuts Assorted  Die Cut   Forest image 0
Stamperia Forest Die Cuts chipboard
The Stamperia Forest die cuts includes 65 assorted die cut chipboards in this packet that coordinates with the Forest collection.  


Thanks for your visit today!  The Rubber Buggy has the crafting supplies for your next project. So have fun crafting this weekend with these products.   My cards and projects are always posted on Saturday.  Keep watching and thank you so much for those wonderful comments as well as suggestions. 
Enjoy and Happy Crafting!