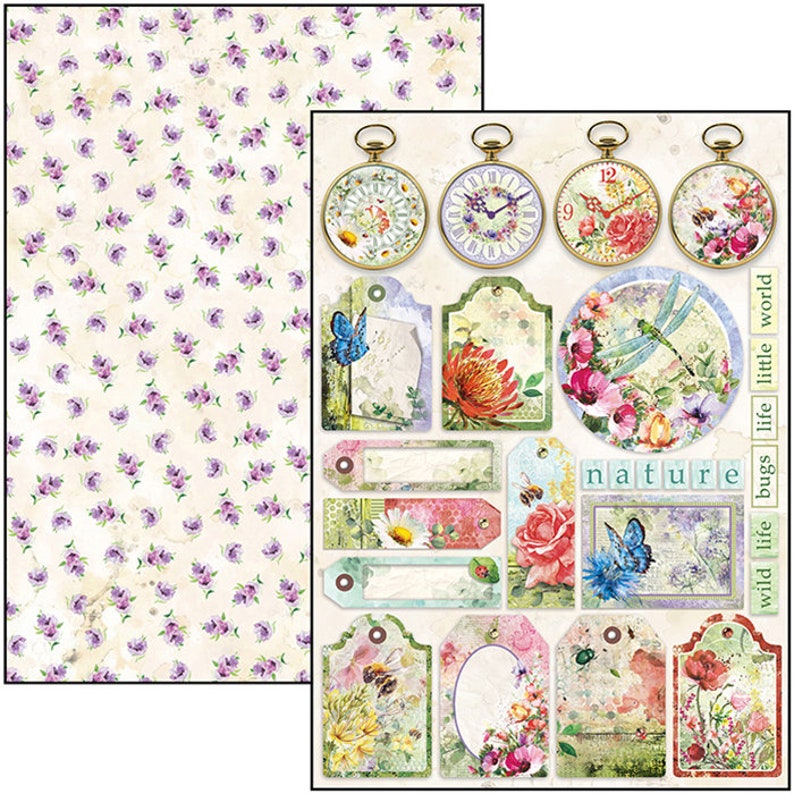
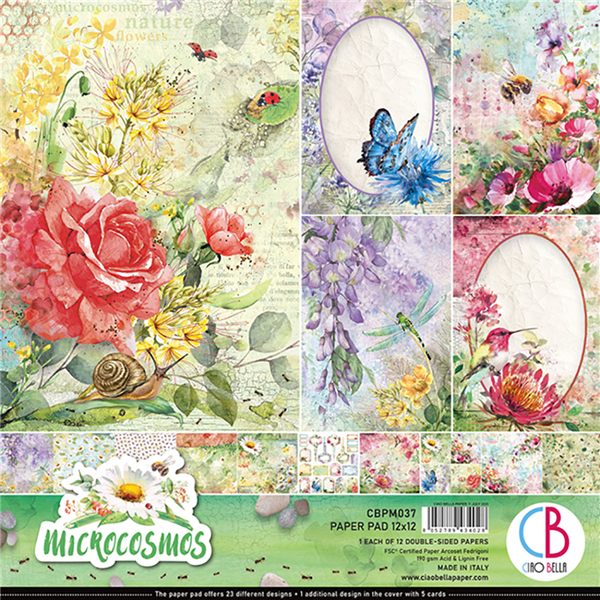
Welcome back and Nancy, here. Everyone loves flowers. The Ciao Bella Microcosmos paper collection has beautiful and colorful details of the flowers and the magnificent world of butterflies and dragon flies in this gorgeous paper collection. This paper collection contains 12 textured sheets of double sided 12" x12" paper, 24 different designs. Also inside this paper pad is a wonderful 2021 monthly calendar.
Please review Bev Code's video on the Ciao Bella Microcosmos paper. She had a very well detail of this collection that is also available in rice paper and background paper that coordinates with this paper pad. Check these available supplies at The Rubber Buggy that coordinates with Ciao Bella Microcosmos paper pad by clicking HERE.
I cut out the strip of butterflies from the pad to make the pocket. Cut a 7 1/2" x 2 1/4" strip of butterfly paper and score each side at 1/2" and 1/4" and fold. The 1/2" fold will be glued to the card. Before you do this, cut another strip of 6" x 3/4" and score at 1/4" on each sides and glue to bottom of the pocket strip before gluing to the card.
I added the gorgeous label in the Graphic 45 Policy and Decorative Die for the pocket as well as the back of my card for my name. I typed the sentiment and printed it out and used spray glue to the intricate Graphic 45 cut out die to adhere to the card. I cut out the beautiful butterfly from the Graphic 45 Staples Tag, Pocket and Butterfly die set.
I added a pink/coral 1/2" wide seam binding ribbon to the center and outside of the card and adhered it with the 3/8" wide Scor-Tape.

Please review Bev Code's video on the Ciao Bella Microcosmos paper. She had a very well detail of this collection that is also available in rice paper and background paper that coordinates with this paper pad. Check these available supplies at The Rubber Buggy that coordinates with Ciao Bella Microcosmos paper pad by clicking HERE.
All of the cardstock shown below in the photos are from the Ciao Bella Microcosmos paper pad including the gorgeous monthly 2021 monthly calendar.
The card measures 6" x 7 1/2" with a 1/2" center for the inside pocket. I cut the base with a heavy white poster paper of 7 1/2 x 12 1/2" and scored at 6" and 6 1/2" lengthwise and fold. I use my scoring bone on heavy weight paper for the best fold after scoring. I added some Prima Marketing labels and clock. I handmade the flowers using the foamiran foam and flower dies. I cut the clock from the paper pad and added a doily behind it. I added the clock parts and flower to the center. I typed my sister's name and cut it out and adhered it to the back of the Tim Holtz-Idea-ology Ornate Plate that was colored with Prima Marketing Finnabair Art Alchemy Vintage Silk and Vintage Gold wax.
The card measures 6" x 7 1/2" with a 1/2" center for the inside pocket. I cut the base with a heavy white poster paper of 7 1/2 x 12 1/2" and scored at 6" and 6 1/2" lengthwise and fold. I use my scoring bone on heavy weight paper for the best fold after scoring. I added some Prima Marketing labels and clock. I handmade the flowers using the foamiran foam and flower dies. I cut the clock from the paper pad and added a doily behind it. I added the clock parts and flower to the center. I typed my sister's name and cut it out and adhered it to the back of the Tim Holtz-Idea-ology Ornate Plate that was colored with Prima Marketing Finnabair Art Alchemy Vintage Silk and Vintage Gold wax.
I added the gorgeous label in the Graphic 45 Policy and Decorative Die for the pocket as well as the back of my card for my name. I typed the sentiment and printed it out and used spray glue to the intricate Graphic 45 cut out die to adhere to the card. I cut out the beautiful butterfly from the Graphic 45 Staples Tag, Pocket and Butterfly die set.
I added a pink/coral 1/2" wide seam binding ribbon to the center and outside of the card and adhered it with the 3/8" wide Scor-Tape.
I cut out some of these tags and monthly calendar from the paper pad. I added a frame around the tags and calendar using my Brother's Scan and Cut machine since I didn't have dies to fit these tags. I used the Graphic 45 Clock and Square tag die set for the calendar and used my Brother's Scan and Cut machine to enlarge another tag to fit behind the Graphic 45 tag.

 | |
| Ciao Bella Microcosmos
Thanks for your visit today! I hope this card inspired you to get your order into The Rubber Buggy and have a bit of fun in your next crafty adventure!. The Rubber Buggy has the crafting supplies for your next project. My cards and projects are always posted on Saturday and would love to hear from you in the comment section below.
Enjoy and Happy Crafting!
|


No comments:
Post a Comment