I couldn't be more thankful and excited to Frilly and Funky Boutique for giving me this wonderful opportunity to be their guest designer for this exciting Halloween challenge.
My gift box is a way to give that special person the Halloween candy or gifts from you. The insert holds the gift into place and you can fill the box with treats and gift! Below I have a tutorial to show you how I created it.
Supplies:
Julie Nutting: Witchy Poo Stamp and Julie Nuttie Photo Play Bootiful Paper
Tim Holtz Idea-ology - Adornments Halloween Words
Tim Holtz Idea-ology - Adornments, Spiders
Tim Holtz Idea-ology - Ephemera Pack, Halloween Snippets
Blue Fern Studio Paper: Autencitity
Wild Orchid Craft Flower:
Purple Seam Binding Ribbon
Cranberry Colored Cardstock
Graphic 45 Rare Oddities Paper
Sue Wilson Designs: Oval Stitched Die Set
Tutorial
For this gift box, I am using a two-sided cardstock.
Inside:Inside: Sample of scoring as per instructions above. I used a cranberry colored cardstock.
Front:
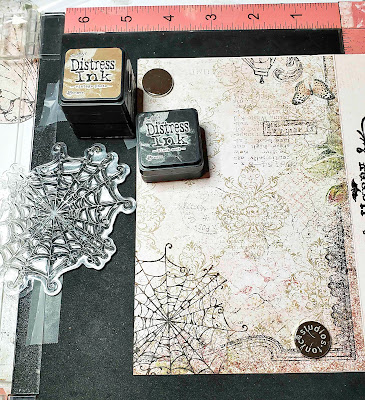
Beginners: To add a nice frame around an image, take two of the frames in a set of rectangles, squares, circles or ovals, tape together and cut. For a wider frame, just use the next larger size in the set. Most of the time, I use a solid color cardstock for a frame around an image, but this time, I used the same patterned paper and sponged on Ranger Distress Ink Walnut to give the frame a vintage appearance.


1 comment:
Congratulations on your win!! So excited to get started on your Halloween project. Loved your box folio. Great job. I especially like the way the box fitted inside the card.
Post a Comment